photo 5fa4f53c-9555-45d1-809b-3e537846bb4e.jpg
Showing posts with label Creative Memories. Show all posts

Sunday, October 2, 2011

Easiest Knockoff EVER!!!!!!!!!! A Boy Spaces Teaser

Tomorrow officially kicks off our Boy Spaces event.



However, this evening I have a little teaser for you.

It is the most recent, and simplest, 
project that I have added to Roly Poly's bedroom.


I am a Land of Nod gal through and through,
so when I saw these cute and simple 
not only did I fall in love with them, 
but I also knew that I was going to make my own.

I had already purchased some knobs from ETSY
 while I was prego with Roly Poly,
which means about 1 1/2 years ago.

I had never done anything with them because 
I just didn't know what I wanted to do.
I loved that they matched his Dwell bedding,
but beyond that I had nothing.

So this was finally the project that could put them to use.

It took about 5 minutes from start to finish.

SUPPLIES:

  • nails
  • knobs
  • Super Glue
  • string
  • mini clothes pins
  • photos and other stuff of your choice


What to do:

First I nailed the four nails spaced apart at various heights 
and distances so that the string could be run between them.

Next I took the super glue and I filled the hole of one knob. 
I then placed the knob over one of the nails and held firmly for about 30-45 seconds.

***Make sure that your nails are pulled full enough out 
that there is space between the back of the know and the wall.***

This step is repeated for each knob.

The next step is to tie the string onto the first knob 
and then continue to wrap it around each knob
 so that it goes back and forth in a zig zag pattern.

You are now ready to hang your photos and memorabilia.

I added some Creative Memories title stickers 
and a rocket sticker backed on 
white card stock and then cut out.
I love that I can change this as I get new photos 
and other important memorabilia.

I hope that this first project revs you up 
and gets you into a creative mood.

If you are a knob collector like Ashley from Little Miss Momma,
you could use this in any and every room.
You can read about her knob obsession here.

I am looking forward to this week.

Are you ready to ROCK some Boy Spaces?

Friday, September 23, 2011

Scrapbooking

Did you know that I LOVELOVELOVE
to scrapbook?

I mean I am probably obsessed.

Okay, in addition to this I am pretty Creative Memories loyal.

People have their opinions for and against this,
but I will stay loyal.

For me there is just something about a life time warranty that kills the competition.

Furthermore,
I ADORE my consultant.

Seriously, she is more than my consultant, she is my friend.

After 8 years and about 20 albums
(Told you that I am obsessed)
I am still in love with this hobby.

For me it is the ultimate catharsis.

Do you scrapbook?
Do you have a favorite brand/product?
Are you traditional or digital?

What inspired all of the gushing of scrapbook love?

I AM GOING SCRAPBOOKING TONIGHT!!!!!!!!!!!!!!!!!!!!

No kiddos.
No chores.
No worries.

I hope that your weekend is off to an equally great start.


Tuesday, June 7, 2011

Shark Bait Hoo Ha Ha

 This is one of those projects that has been complete for awhile
with the exception of the finishing touch.


I can be such a procrastinator.


Really though,
I am SUPER EXCITED to share this project with you ladies.
I truly just love it.


Okay, so it is a frame of sorts created from 
one of those ceiling lamp covers.
You know the old school shades.


I picked this one up for .99 at my local thrift store 
back in January,
and I immediately knew what I was going to do with it.


Let's just hop to it then.


Here are the supplies that I used.


To Begin:


My thrift store light cover
Sponge brush
Blue tissue paper
Mod Podge


Later you will need:


Nemo figurines
Gorilla Glue (other glue of your choice works too)
Clear Vinyl
Disc Hangers
White Sticker Letters


STEP ONE:


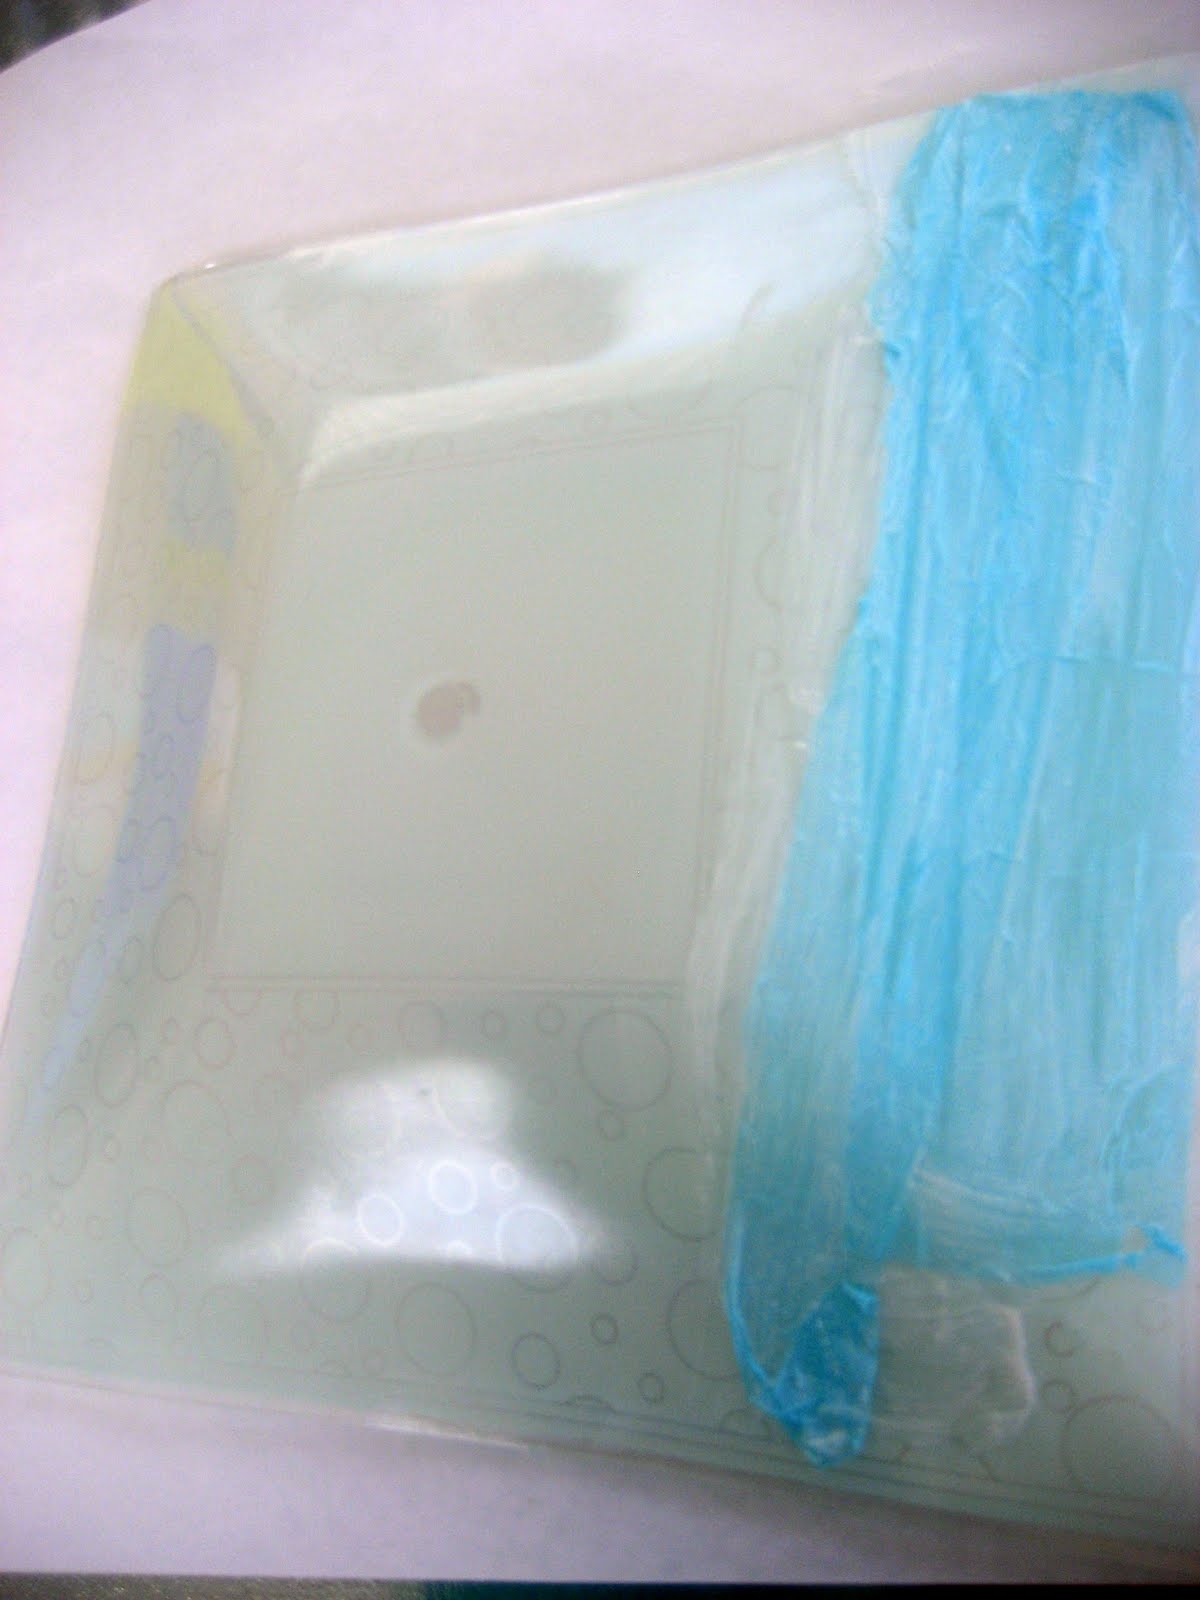
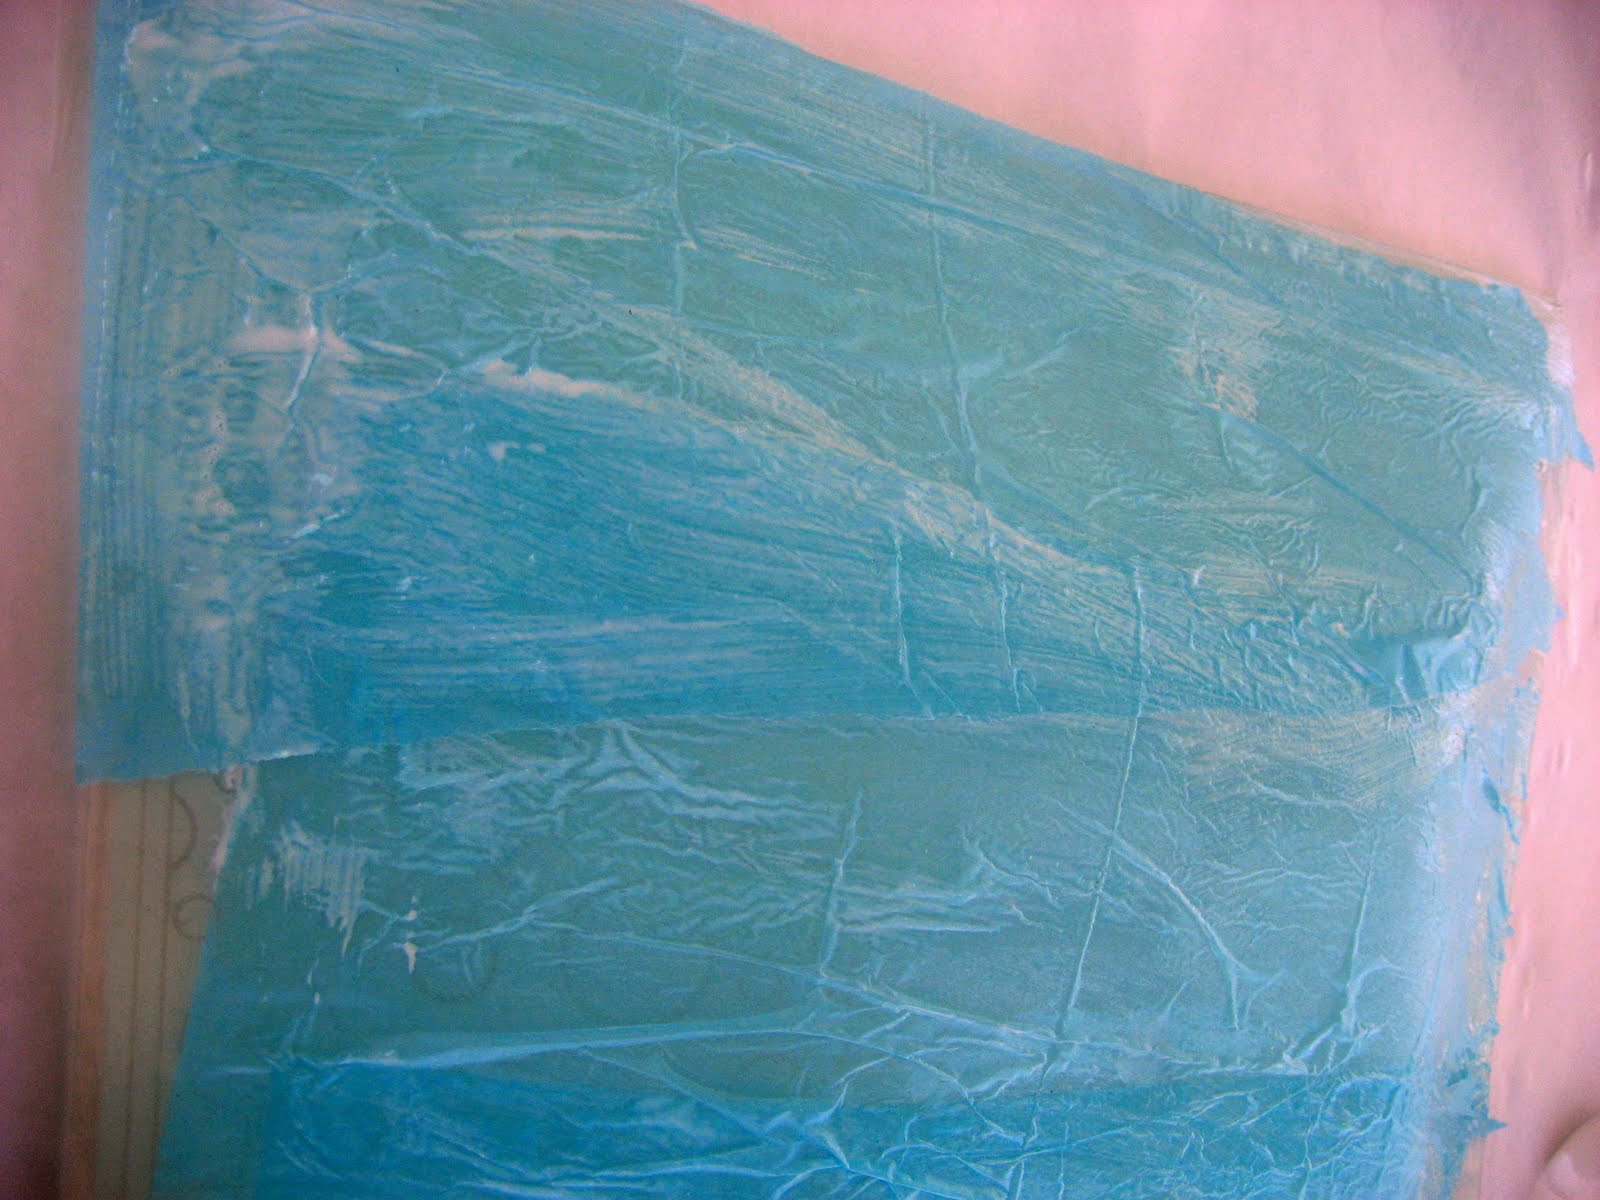
Mod Podge the shade
I did this by tearing the tissue paper into strips; 
they do not need to be even.


I then used the Mod Podge to adhere them 
to them back side of the shade.


By overlapping at various intervals
I was able to get the look of ocean currents.


I continued this process 
until I had a look that thoroughly satisfied me.


STEP TWO:


Now it is time to decorate the front side.
After the Mod Podge is dry,
lay the shade so that the printed side is toward you.


First you are going to take some clear vinyl 
and make a photo pocket.
A simple way of doing this is by using packaging of some sort.
I used a Creative Memories sticker package.


I used my trimmer to cut it to a size that fit the frame.
I left one side open to insert a photo.


Then I adhered using my Gorilla Glue.


Once that was in place I began arranging my 
Nemo figurines and adhering them with
the Gorilla Glue.

***I purchased these figurines about 1 1/2 years ago 
from E-Bay for $3 plus shipping, totaling $7. 
They shipped from China.***

I also added a photo from Disneyland.


Due to the angle of the glass the characters did slide a bit, 
but in the end the result was fine.


It looks extra cool back lit, 
but when hung this will not be the case.


STEP THREE:
How to hang such a creation.


Oh the wonderful world of Disc Hangers.
I have been wanting to try this since the first time that I saw them used by Jen of Tatertots and Jello
maybe around December or January.


Anyway, I purchased some just for this project.
I wasn't sure what size I needed,
so I picked up a few.


I went with one in the middle 
(in regard to those I purchased that is).


It is fairly large, 
but these shades are heaven and I wanted to be certain it was secure.


I adhered it following the easy steps on the label.


Voila! Ready to hang.


STEP FOUR:
Sometimes an additional step is added last minute.


After all was said and done, 
I felt like there was still something missing.
There was a bit of empty space toward the top.


I decide I wanted to put a quote from the film there.
I chose:
Shark Bait! Hoo Ha Ha
(I totally looked it up to make sure it was correct too).


It was now ready to hang over the towel rack in the boys bathroom. 
It was a perfect addition,
and it filled up the empty space perfectly.


I hope that you are inspired to go out
 and do something fun and creative.
It is wonderful to use a something in an entirely new way.

On Thursday I will be linking this to 


Visit thecsiproject.com

Wish me luck.
I have my fingers crossed.

I have tummy butterflies about this because Mandi is the judge.


One Month To Win It   Pssst . . . 
I also am using this as my season 5 audition. Fingers crossed.
One last special link up:
DIY Club


Tuesday, April 19, 2011

Eisy Morgan Recreate #1--Canvas

This is a party for people who have recreated some of her tutorials.

Well, I didn't want to be left out,
so last night I put myself to the grind stone 
and I recreated a few of her tutorials.

The first one that I did was a simple Spring Mod Podge. Canvas.

You can find her tutorial here.


It was really easy.

Here is what I used

My .09 canvas from Michaels
Mod Podge
Paper trimmer
Scissors
Some Creative Memories scrapbook paper scraps
Creative Memories Title Stickers


First I cut my paper to size and adhered it.

I also adhered my chosen sticker to a coordinating sheet of paper and cut out around it.

Then I adhered my cut out phrase to the canvas.

Let dry.
Display
Enjoy.

Any thoughts?
I love comments and questions.

I will be posting my other recreate projects throughout the evening as well.
Don't forget I will announce this weeks giveaway winner between  7:30-8.
That's in about an hour.
Enter while you can.