photo 5fa4f53c-9555-45d1-809b-3e537846bb4e.jpg
Showing posts with label Spring. Show all posts

Thursday, May 19, 2011

Shiny Happy People

I shared this project last Friday, so almost a week ago, 
over at I Heart My Glue Gun.


In case you didn't catch it there,
especially in the Blogger Melee,
here it is for your crafting pleasure.


I don't know why, but this little craft project 
reminded me of the REM song
Shiny Happy People.

Most likely it is because this project involves 
a daffodil of sorts,
and daffodils make me a shiny, happy person.

This project was created from repurposed shorts pockets
(left over from this project)
a bit of yellow tulle
Twine
A Golf Pencil or crayon
And these note printables I created


This project took very little time to whip up,
and I just adore that it allows me 
to leave The Cuban Cowboy a cute note 
while I am running around like a mad woman.


So here is what you do.


First you take your left over pockets and pin them 
wrong sides together.
Top Stitch these pieces.
I used contrasting yellow thread 
and a zig zag stitch for dimension.


Now make the daffodil
(this is the most time consuming part,
 but it is still pretty quick)
First cut your tulle into a circle
and then bunch it up like a cone.
This is the daffodil center.
Set aside.


Now cut 6 petal shapes, 
as seen in the pocket photo above.
Using the petals make a flower shape and stitch.


This is the base.


Next,you are going to place the center 
that you created earlier atop the base.


Now you are going to sew this onto the base part.


This takes some eying and creativity, 
but just work with it until you see the right shape.


Next, attach the daffodil to the pocket.


You are now ready to make a handle by adding the twine.
Cut about a five inch length of twine.
Set it inside your pocket pouch.
Stitch across each end, making sure it is tightly secured.


Now the pouch is complete.


So I went to my computer and I created this simple notecards.
You can simply download them here.
This is the shape and size before I manipulated them to print 
and fit into the pocket.

I love how they carry the daffodil idea through.
I used my trimmer to cut them up and I slipped them
  inside the pouch.


I attached a crayon using a second piece of twine.
I just tied it to the existing handle.


Then I hung the pouch, note cards and all, 
on the door knob at the end of our hall 
because that's where we exit our home.


I love little projects like this because they are fast,
but have the ability to brighten up 
an otherwise bland area, like a doorknob.



Monday, April 25, 2011

Butterfly in the Sky

Well, Easter has past, but Spring is still here for another month or so,
which to me means that Spring decor is staying for a little while longer.

I didn't do all of that hard work for NOTHING, after all.

This is a little craft project that Monster and I whipped up just a few days before Easter.

It was inspired by this first LARGE coffee filter butterfly
that he made during story time at the Apple Valley Library.


It's awesome, right?
Where did they get such large coffee filters?

Anyway, he enjoyed the little project so much
that I decided we could replicate it at home using supplies that we had on hand.

Supplies: 
Coffee filters
Markers
Scissors
Spray bottle with water
Wire or pipe cleaners


1. Gather the above supplies. 
2. Fold your filter in half and cut 2 triangles from the top and bottom of the fold.
3. Begin coloring
4. Notice that the color should leak through,
 but you still should color on both sides for emphasis and style.

NOW IS THE FUN PART!!!!

5. Get out the spray bottle and soak down the "butterflies" with water.
This will cause the ink to bleed and create a tie dyed effect.

6. Hang to dry.
I am lucky enough to have a cool clothes line in my laundry room.
It is Michael Grave's for Target if you want to pick one up.
I love that it is retractable, so I only have it out when I need it.

7. Sorry, I didn't photograph this step, but it is easy like the rest.
Take your wire or pipe cleaner,
scrunch up the center of the butterfly,
 and twist to make the body and antennae.

Now they should look something like this.


I love all the bright colors that this added to the kitchen.
I just folded Scotch tape up and stuck it to the butterfly and then the wall.

Speaking of butterflies . . .
I actually have another Eisy Morgan recreate.
I am actually going to call this one a FAIL.
I did improve upon it after these photos,
and now it is presentable.
You are about to see what I mean.


It is a recreate of her beaded dragonfly headband tutorial.
I knew my beads would make a good butterfly,
but I wasn't careful enough and my glue got a bit messy and clumpy.

Ashley's is WAY better.
Check out her tutorial and try it out.
It is a quick project, and hopefully you have better luck than I did.

Let me know if you try it
or if you make the coffee filter butterflies.
I'd love to hear about your experiences.

I hope that your Easter Weekend was as wonderful as ours was.


Wednesday, April 13, 2011

{What I Wore Wednesday} Spring Into Spring and a WINNER!!!

The weather is starting to norm out, at least for this week, which is absolutely wonderful.

Earrings: Coach, Necklace: Tiffany
The look is because I could hear the bees buzzing in the tree behind me. Pollination good. Stinging BAD.

It allowed me to wear some fun Springy clothes I have been dying to pull out.
Some are new, while others are veteran items.
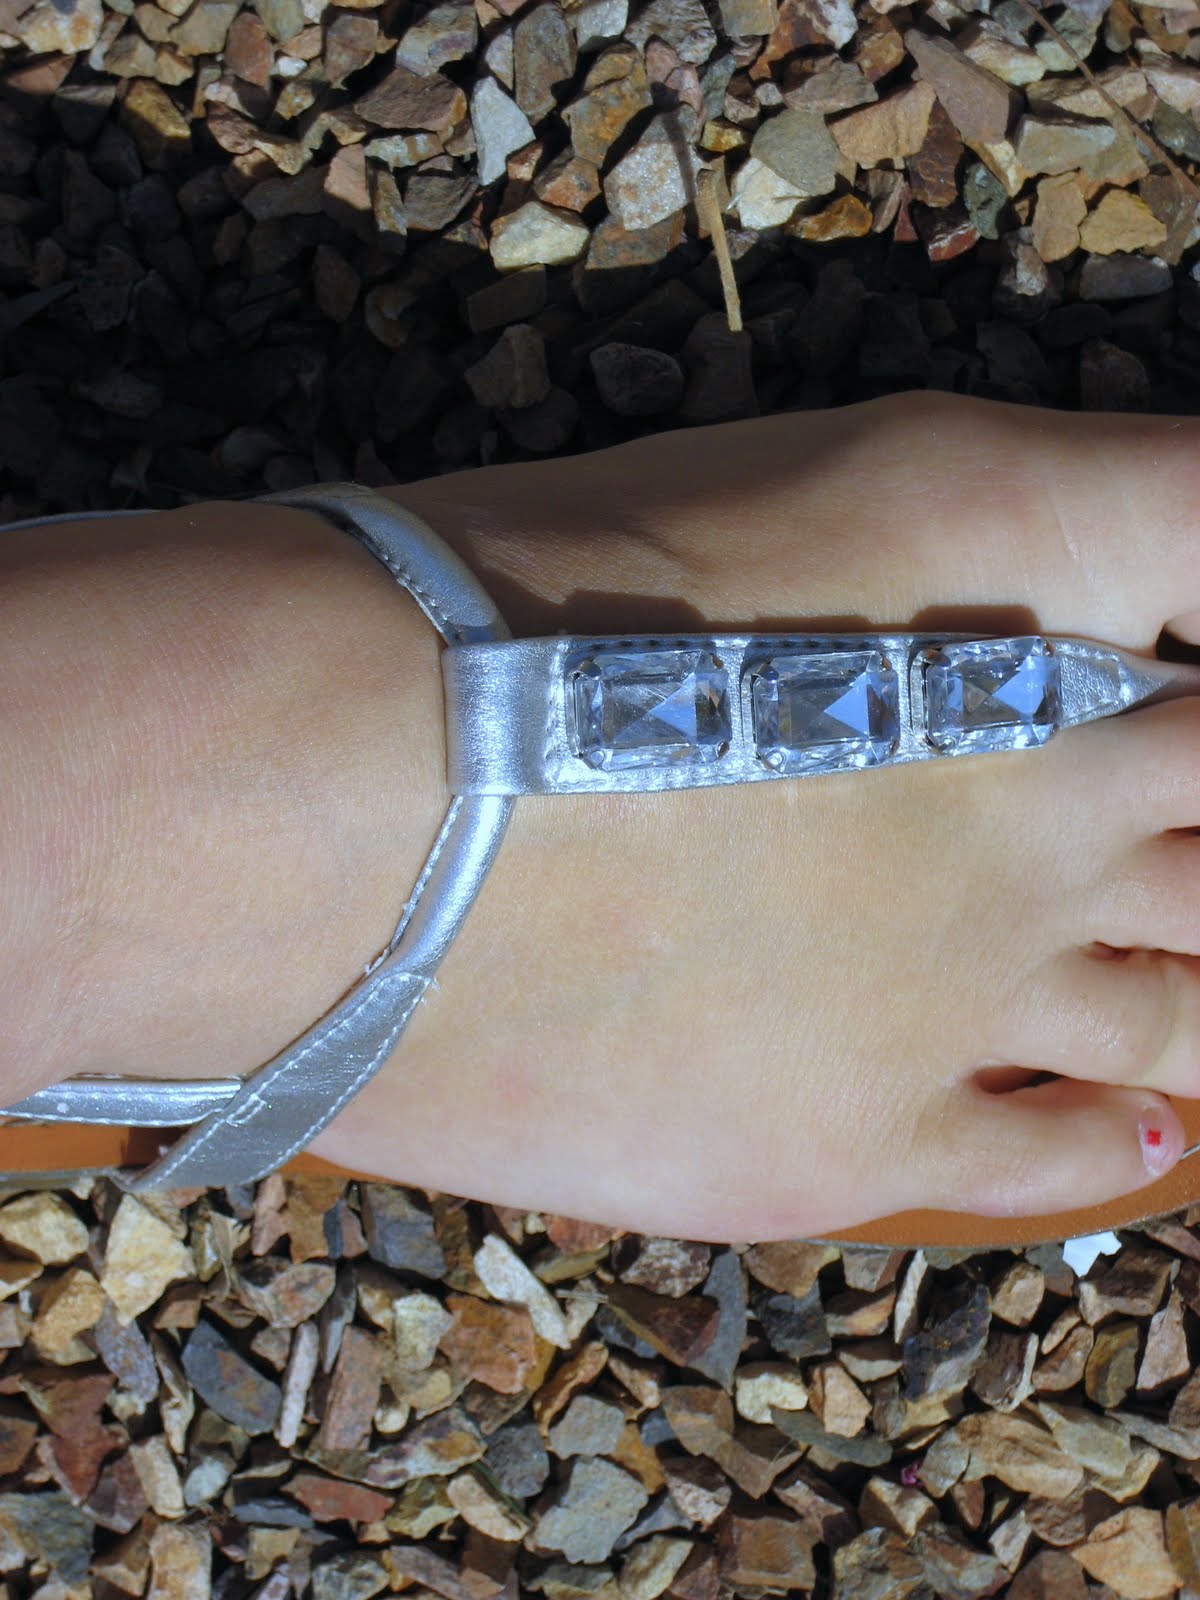
Shorts: White House Black Market, White Cami: Boutique, Chartreuse Cardi: Anne Taylor, Sandals: Target,
Hair Scarf: Coach

Today's outfit is a wonderful combination.


I love how the weather allows me to hang out in the backyard with the boys and my doggies.

We have been swinging a lot.
This week has been Roly Poly's first time in the swing and he LOVELOVELOVES it!!!

Bonus: Monster loves to push him.
They just sit and crack up.
I think that this will be a huge part of our Spring and Summer activities.

Okay, now for the winner of the Agape Love 2 Corinthians Spring Printable.
Ooooh, can it be me?
Sadly, no.

It will be one of you.

The winner is . . .


Congratulations!!!
I will give your info to Maria Isabel so that she can send you your file.


Tuesday, March 29, 2011

Spring Table Vignette

I love little vignettes and center pieces.
I also LOVE Spring.

Put these together and you come up with something very pretty.

Let me take you through the metamorphosis of 
this years Spring vignette.

I started with this.
Table Runner: Target, Tray: Made by my Daddy in high school wood shop, Thrifted cloche filled w/reused Easter grass & wooden eggs, .99 Store Candle holder, 
Silk carnations, Vintage thimble from my Grandma.
Here's a closer look of the decor part.


It was satisfactory for several days, but I just knew that the magazines weren't exactly decor.

So I added some things.
Added: Vintage Carnival glass candy dish (Great Grandmother's), floral vase-?, Party Lite Tea Lite holder filled with mint styrofoam balls.


This was much better. However, the addition of this little bunny made of ash (a gift from my grandmother)was a further improvement.


However, I still felt like it needed a little extra 
in the front left corner. 
Something for the bunny to sit on.
That's when I remembered that I had a green egg tray
that I previously purchased from Joann's
sitting on my kitchen buffet.
I grabbed it.


MUCHMUCH better!!!

Satisfaction!
Visit thecsiproject.com

Monday, March 21, 2011

Sweater Nest Spring Wreath

I am so proud of myself for being ready for the season to change,
as in my decor is up and Spring has just begun.
Yes, I am patting myself on the back.

Today I am going to share with you the first of my Spring projects.

Here is my Spring wreath; 
I thought it should be called 
The Sweater Nest Wreath
photo taken by Monster. He's getting some pretty good style for being 2 1/2.

This project did take about an hour in total from start to finish,
but it was a nice day so the boys played in the yard
and I created with intermittent pauses.


Supplies:
  • old sweater
  • wreath form ($1 at dollar tree)
  • sheers
  • glue gun/sticks
Last Minute Additions:
  • paper bag
  • twine
Steps:

Get out your old sweater
preferably one with holes

Now you are going to cut the sweater into the pieces.
I separated the lace collar to keep for a different project.


Then I cut off the sleeves and ribbed waistband to keep for a pair of baby sweateralls.


I love that this Volcom emblem will remain on that project.


I then cut the rest of the body into two halves 


and then into strips. 

I did end up cutting a bit of strips from the top of the sleeves 
because I know that I won't need them to be as long
 for the next project.

I also salvaged the bright pink Volvom Stone from the bodice.
I might use it for a flower center or something someday.


Now it is time to start the real work.

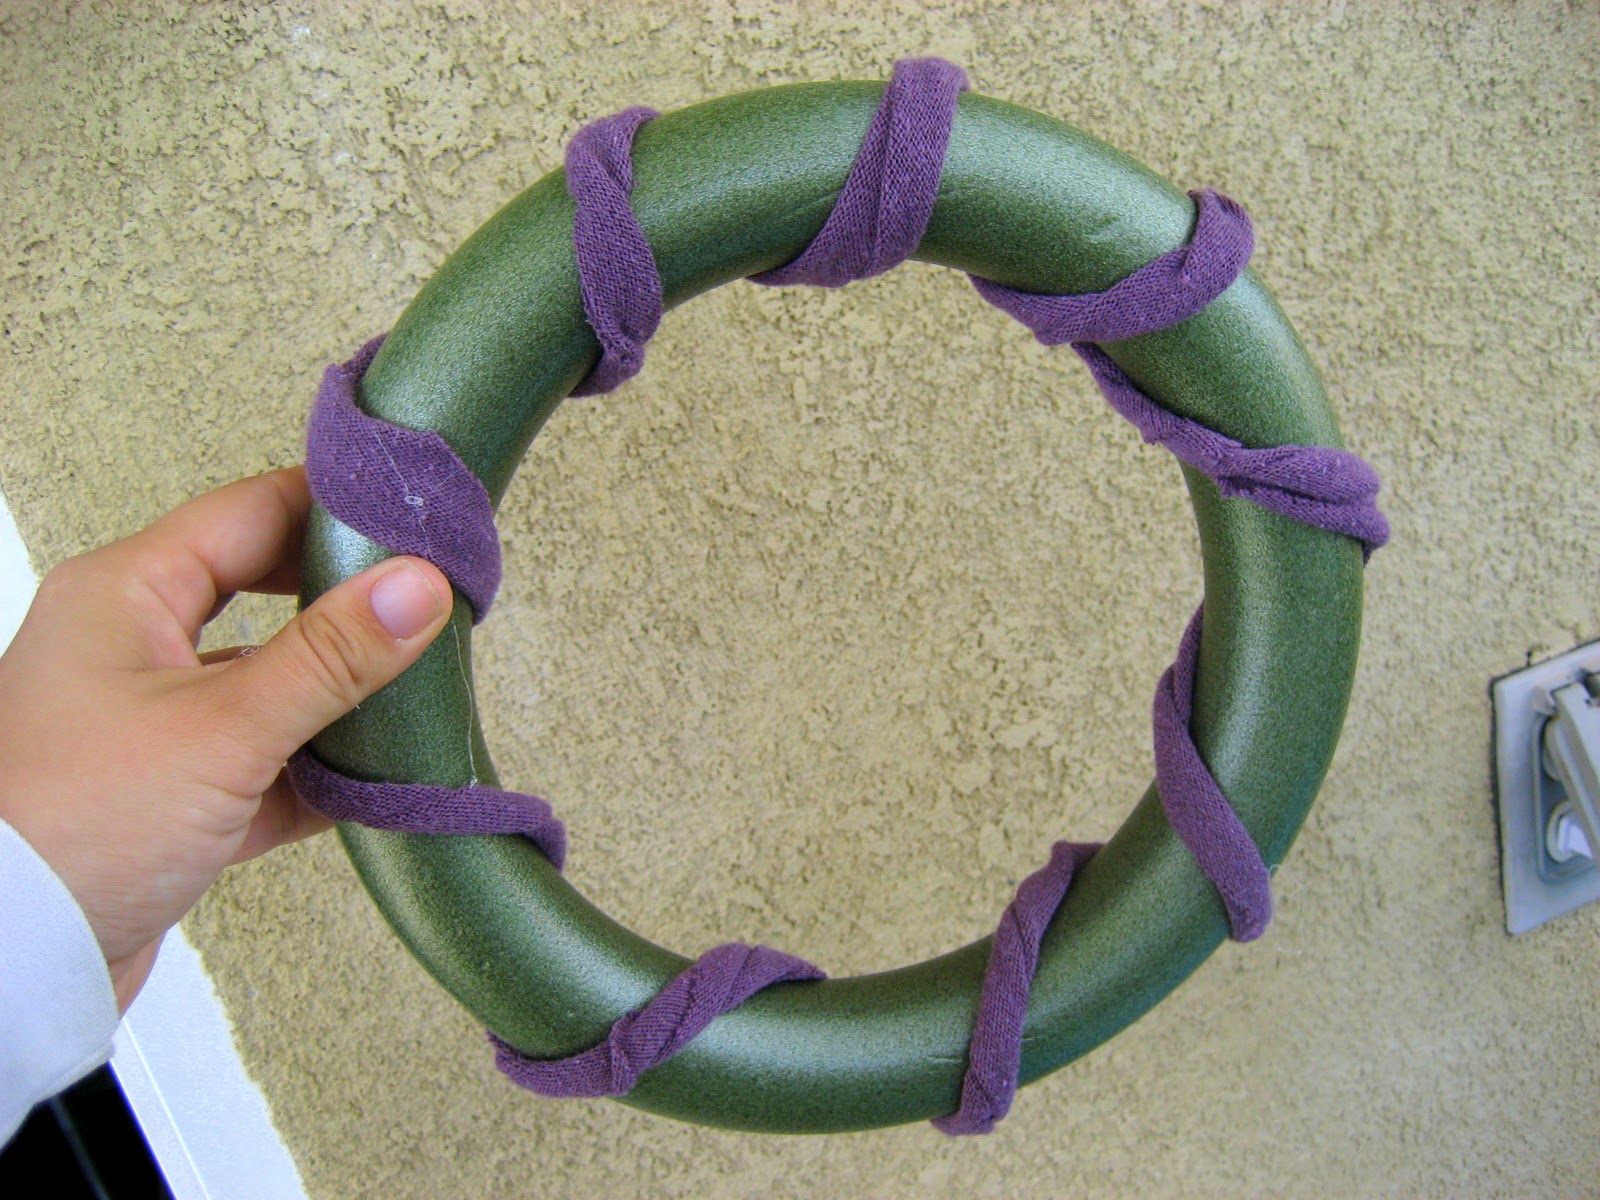
Grabbing your first strip, adhere it to the wreath form 
using your hot glue gun.


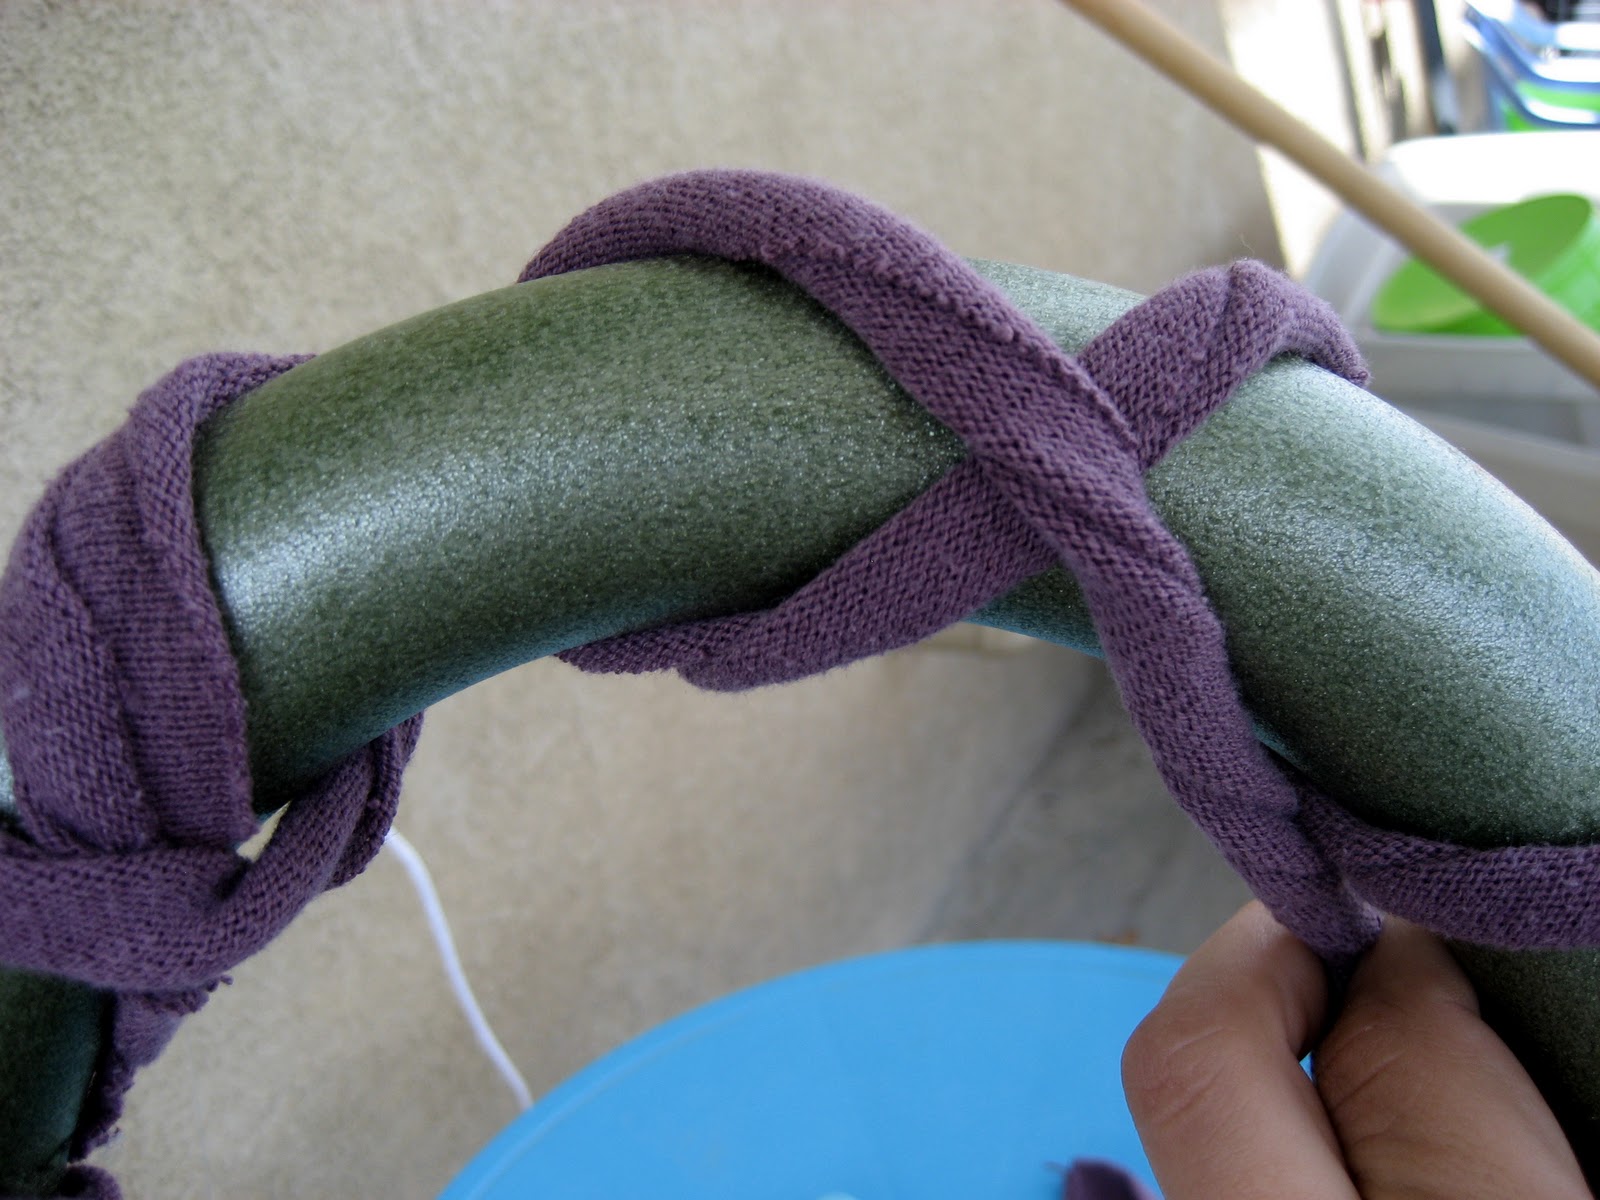
Then twist the strip like so.

It adds some dimension and texture.

Begin wrapping the strip around the wreath form, gluing when you get to the end of the strip.

Add the next strip where the first one ended.


Continue this process until you return to the 
beginning of the first strip.
It should look something like this.

You are now ready to begin the next row of twists.
Glue your next strip a gap between the existing twists.
Remember to try to keep all of your glue spots on the same side of the wreath form.

Going in the opposite direction of the first twists, follow the same directions as before.

You should have something resembling this.


Again continue until you reach the end of the first strip in this direction.

Now, you will begin to add strips into the empty space.
Twisting and adhering in the same manner.
It is now a sort of figure it out as you go process.
Just remember that as long as you fill in all the empty spaces,
then you've done it correctly.

Here's a shot of me "figuring it out" courtesy of Monster who loves to steal my camera.
Good thing I just have an old point and shoot.
I know you want the ensemble details, right?
Shoes: Juicy Couture, Yoga Pants: Victoria's Secret PINK, Thermal: DL's drawer, maybe Hanes.

Okay, so now that I have amused you with my High Desert Ghettoness, let's get back to business.

After all of your spaces are filled in, leaving two extra strips out, it should look beautiful like this.


Now it is time to get out the twine.
I was lucky to already have twine on hand because it was a last minute addition to the project plan.

Cut a circle out of some excess fabric and spiral glue the twine onto it.
This is the base of your wreaths rosette.

Next take one of your strips,and using another scrap circle,
create the rosette.
Remember to twist as you got to keep the style.

Finally glue your sweater rosette to the twine circle rosette.
Then adhere it to the wreath.

See, it is looking good and rustic.
Very nest like.

There are just a few small steps left.

I decided I wanted something to hang it by so I took my other extra strip
 and some twine of equal length and twisted them together like so.


Then I glued this to the back of the wreath in order to make a hanging loop.

After this I decided there was still something missing.
I want a saying to go with the nest like theme.

So I took a brown paper grocery bag and ripped it to fit in my printer,
no scissors necessary.
Then I opened up word super quick, found a font, and typed,
"Welcome to our nest."

Once it was printed I tore the paper down to the size I needed.
I went back to my wreath and hung it on the twine that was already hanging into the center 
using just s dot of hot glue.
Then I tore two small piece of the bag and added them for extra strength.

ALL DONE!!!!!


HANG AND ENJOY!!!!!!!!!!!!!


Don't forget to go and enter today's Spring Fling Giveaway contests co-ordinted by Wildflowers and Whimsy