photo 5fa4f53c-9555-45d1-809b-3e537846bb4e.jpg

Thursday, December 30, 2010

10 Things that ROCKED in 2010

Okay, so I know I didn't really start blogging until November, but my craftiness began far before then. Here is a chance for me to share some of the fun Lascaibar projects that ROCKED my household in 2010 (Not all projects were created by me).

1. Tiny Diva Baby Shower
for Kelly

Martini glass favors filled with lime green jelly bellys and covered in black tulle. Finished with a hot pink ribbon.
                                     
Center Pieces: Martini glass filled with jelly bellys, zebra ballons tied to them (not pictured), and hot pink mini-heels for the soon to arrive diva. Tables were covered in black cloths and lime green tulle for runners.

2. Where the Wild Things Are Art by Daddy (and Desmonster)

This is one of four in my older sons room. I will soon share all of them with you.

3. String Easter Egg Baskets
Created by Jayna, Andi, Jackie, and Sarah

Hanging to dry
My final basket (It was pointier on top than I would have liked)


Andi's Basket. I liked hers the best. Jackie and Sarah's didn't make it at all. This will have to be a do over.

4. Painting Baby Boy New's Room
This is what we called Emmett before he arrived, which is when his room was in progress.

Daddy got a little obsessed with this project. The clouds took forever and had to be "just right." He was immediately very proud of his moon though. Also, see that wall tapestry? I will be doing a post about that and what it is all about in the next few weeks. (Hint: It doubles as an AWESOME felt board).

5. Tile Fireplace

After two years of searching for the right tile for our fireplace, which meant the floor of the hearth was concrete a showin', we found this gorgeous tile. I love it!!!!!!!! Thanks to my oh so talented hubby for the install.


6. Buzz Lightyear Candies
Yes, that's right, I hand-painted this bad boy!!!
Then I got lazy after a few and made the rest in solid colors.

7. EMMETT!!!!!!!!!!!!!!!!!!!!!!!!!!!
This was the BIGGEST project of the year, nine months in the making, our fabulous #2.
8. Apples from our Trees
(Used for Apple Sauce and Apple Butter, not pictured)
That's right, you can grow frruit in the desert. Don't the peaches look yummy too.

9. BOO Photo Holders

We had this adorable shot of E and I wanted to give them out. I knew I had a TON of Halloween paper because I once thought of having a party (about 6 years ago) and never did. Ah ha! I made these based on my original invitation idea. Cute delivery system right.


Oh yes, you can't tell by the photo, but he is wearing the cutest Jack O Lantern diaper cover EVER!!!

10. Pumpkin Soup


This post is linked up to:
 Rhoda's


tatertotsandjello.blogspot.com.png


iheartnaptime.blogspot.com.jpg

Tuesday, December 28, 2010

Minty Crochet Cloche

My all time favorite color is MINT GREEN; not celadon, not spring green, not any other shade but MINT. The best example of this green are the pillow mints. They are this green. Well, anyway, I found this wonderful Sugar and Cream Twist that integrated this color. I just knew I had to make myself a little cloche. I have been making tons the past month or so based on a pattern I got from Aesthetic Nest. I had't made myself one because the pattern is for babies and young girls. So very late last night, while the house was nice and quiet because all my boys were asleep, I made my own alterations to the basic pattern that I now have memorized,  and I got to work. Here is the result.


I LOVE IT!!!

I took several shots because the flower can blend in a little bit, but I think that is part of it's charm.

I love it so much that I had to wear my mint green sweater today so that I could look super cute for my hubby when he came home. See the whole ensemble below.


Look it even looks cute with my bedding! Mint and fuschia are quite complimentary.

This project linked up at:


http://vintagepollyanna.blogspot.com/


Photobucket

Photobucket

Wednesday, December 15, 2010

I am a WINNER/Chance for you to earn free IPAD

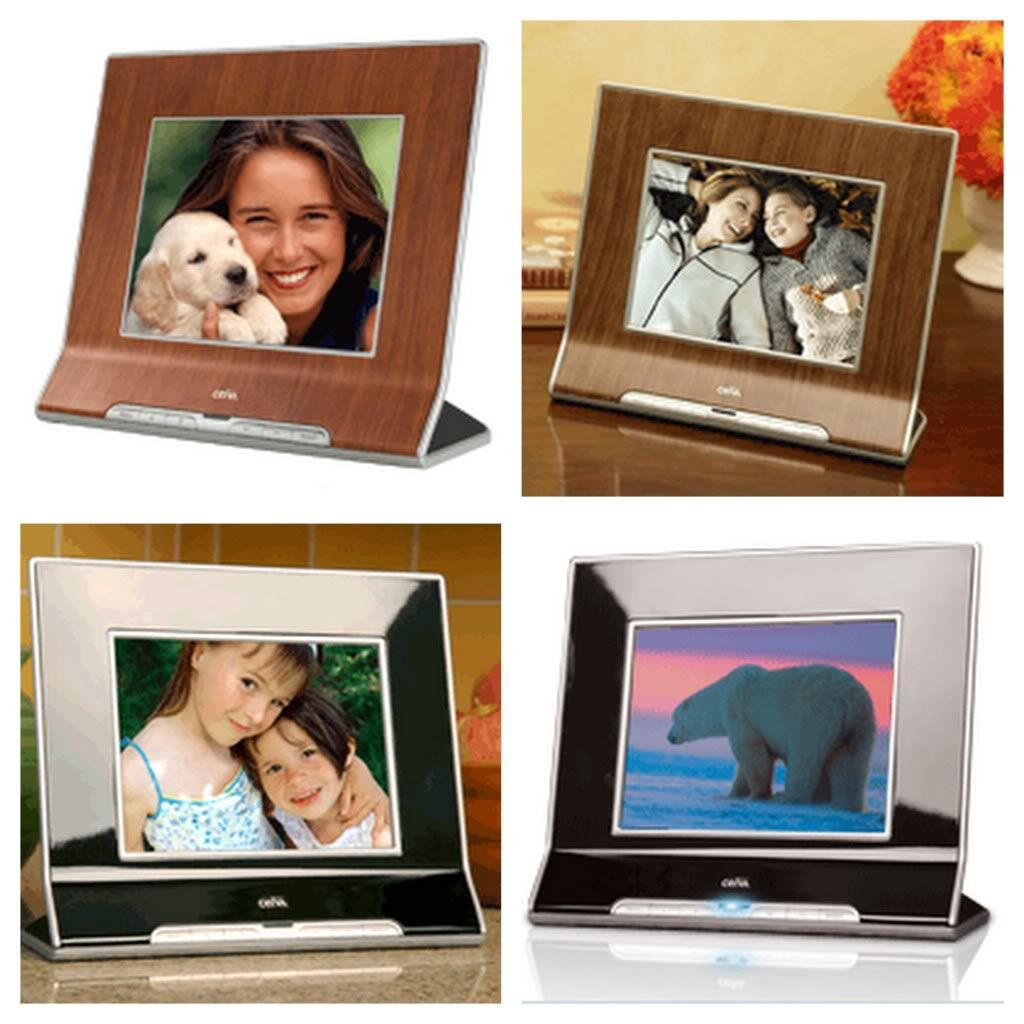
First, I want to announce how excited I am about winning a CEIVA from Under The Table and Dreaming. It is such a wonderful blog full of great ideas from Stephanie Lynn and, of course, giveaways. I can't wait for it to arrive!!!!


UndertheTableandDreaming


On another note. I discovered this great offer to earn credits toward free Apple products ranging from an Ipod shuffle to an Ipad. WOW!!! All you have to do is follow the link here. It will send you over to NOMORERACK.COM. All you have to do is enter your e-mail address and you will receive a free gift card for their site for $10. Then you will get a code to share the offer with your friends, just as I am doing. The more people that accept the gift card offer, the closer you are to getting free Apple products. Can't beat that, right? So simple and easy.


Okay, so be a wonderful friend to me and click here, or on the earlier link, and help me out. Thanks friends!!!!

Tuesday, December 14, 2010

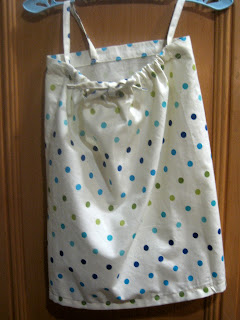
{Sewing} Sweet Dreams Dress/ My First Tutorial

Okay, so it's not like I don't have "actual" things to be doing right now. Okay, I really do. However, I spent a few hours this evening braking in my new rotary cutter (I bought it a year ago and forgot), and sewing a little dress that I have been excited about for awhile now.


Here's the story:

You know those really cute bags that they now package sheets in. The ones that match the sheets. Well, I just couldn't bring myself to throw it away. The fabric was too cute, and in good condition. Brand new, in fact. So, I thought, that this little bag could be a great dress. If a pillow case can be a dress, why not the bag that it came in? Let's get to it then.


1. Take the bag out

2. Remove the draw string from inside the bag and set aside.


3. Turn the bag inside out and use the seam ripper to tear out the bottom seem. You will be pleasantly surprised to discover that though the bag looks flat bottomed, it is not. Instead it is one piece of fabric.


*****You should have this now*****


4. Return to the top edge that you removed the string from. On the opposite side from the opening you need to  . . .


use your seam ripper and remove one or two stitches. Then take your shears and slice up the inside edge of the casing. You should now have an edge which matches the one from the original product.


5. Take that same top edge and find what will be your FRONT. Mark the center.


6. Use your rotary cutter to cut through both layers of the front center. This will be where the string will  come out for a bow in the end.


7. Now it is time to get your iron. First, just do a general ironing of the bag. Then fold the bottom seam up about 1/4 inch. Iron it flat.


Then fold this a second time and iron flat again. You are now ready to . . . 


8. SEW!!! Sew the seam at the 4/8. You are almost done. See I told you that this is simple.


9. Back to the ironing board. Get that string that you removed at the beginning. Iron it flat.

9. Fold it in half and cut it.

10. Now, you need to lay the dress shell flat, inside out. Use your measuring tape to measure four inches in from both outside edges on the back side. Then pin one strap piece at each point, cut edge to the inside.

11. SEW. You are going to sew back and forth about three or four times to securely adhere each strap.

12. Now back to the front. Remember that cut you made, find it. You need to make a stay stitch at the bottom of the cut. This will insure that no further fraying will occur when the dress is finished. It is also a good idea at this time to stitch in raw edges on the inside casing.

13. ****SORRY NOT PICTURED***
This step is easy though. All that you need to do is take each strap and pull it through the front casing until you meet the center cut that you made. Once both straps are through you are done (except for cutting all those loose threads that are left. I hate that part!).

VOILA!!!!!!!!!


There you go, from sheet bag to a dress of sweet dreams.
Isn't this the cutest little dress!!! I am so happy with the result. Darn I have two boys. I think that it makes about a size 12-18 months, but I am going to have to borrow my friends daughter to make sure.

HAPPY SEWING!!!!!