photo 5fa4f53c-9555-45d1-809b-3e537846bb4e.jpg

Sunday, January 30, 2011

Sick Sunday

Today Roly Poly and I are SICK!

This is no fun. 

He is teething, has a cold, is coughing so hard he gets pukey. I am so sad for him. I snuggled him all night last night; maybe the snuggling is why I am now sick too.

Needless to say not much got done today. Hubs did bring in a bag of my old classroom stuff for me to go through, and I did while Roly Poly slept. 

Here's what got accomplished:


There's one poster to EBAY

 tons for my Bestie who still teaches (I cry that she doesn't stay home with me)

 some trash (even two of my faves)
They're so beat up. Plus, what am I going to do with them?

 and some special student projects to keep.

Okay, so one bag down and about six to go.

Mini-Pink Rose Bouquet and Boutonniere


Roly Poly's Valentine's outfit is coming together nicely.  It was inspired by this wonderful Starbuck's Bearista from several Valentine's past.


He's Cute, right?

Well, I just love the pink and blue color scheme for Valentine's day. Roly Poly will be wearing the blue sweateralls I made earlier in the month. A coffee died onesie; this incorporates the tan of the bears jacket. I am planning on going big and making a jacket too (time willing). And he will be wearing a little boutonniere resembling the rose that the bear is holding.


Now, I have no clue what Monster will wear to the Valentine's party his Bestie throws, but he will be bringing her a special hostess Valentine inspired by that same rose. It will be a cute little bouquet; one that will not wilt. I hope the same is true for their friendship.

Okay, so want to know how to make these precious teeny tiny ribbon roses?


Let's get started!

First, get some supplies. Like this:
  • Green floral tape
  • sucker sticks
  • pink sheer ribbon (mine was a pack of 20 pre-cut strips). Your strips need to be about 4-5 inches.
  • Green felt
  • Hot glue gun/glue

Okay, first things first! You have to roll up the rose. Follow the pics and directions below:

Fold over first end


Then fold it back the opposite way. This will help to seal it in.


Roll in this direction until most of your ribbon has been used. Then switch directions again.


When you are about here there is one last switcheroo.


This last one tucks in your end. It should look like this.

Okay, You are now going to glue. Sorry no photos. I just couldn't figure out how to glue and hold the camera. Glue by scrunching and making sure you fill in the layers at the bottom.

THE BOUTONNIERE


You should have your rose. Then cut out a 1/4 circle of green felt and two oblong leaves.

Glue the rose onto the circle. The rose should be laying on its side.


Fold the leaves like so and add a teeny tiny bit of glue toward one end to maintain the fold. Glue each leaf onto the circle in front of the rose. It is complete (sorry, no photo alone. Please refer to the first photo above or to the final photo of the post). I will be sewing the boutonniere onto the sweateralls, but velcro would also work and be baby friendly.


THE BOUQUET


Take your rose and glue the stick into the center. You will now wrap with the floral tape (Again, it was too difficult to photograph this step).

Your long stemmed rose is complete. Make as many as you like. I made three and then tied them together in a bouquet for Monster's gal pal. I am sure she will love them.

My boys are ready to go!
Portrait taken by  Little Skullz Photography


Friday, January 28, 2011

{Frugal Fridays} Coach Clutch


Okay, I know what you are thinking Coach and frugal do not go together. I promise you though you will be amazed by this. This Coach clutch cost me . . . wait for it  . . . a whopping . . .

$17

No! I did not buy this on E-BAY or Craig's List. It is not from a thrift store or yard sale. 
It is from the Coach store.

"Wha . . . Wha . . . What?" you say.

Okay, so it is from the outlet in Barstow, about 30 minutes from my house. If you are going to Vegas from LA  or Orange County you pass right by it on the 15 fwy. However, there are outlets everywhere. Every outlet has a clearance section along a back wall. Also, every outlet has sales of 20% off the entire store on a fairly regular basis. This clutch/wristlet was on that wall during one of those sales. It was back there because because of this teeny tiny pen mark on the back toward the top stitching.

See:
Maybe less than the length of two stitches
Okay, so now you know about this little clutch/wristlet. You want to know something sad though. I have NEVER used it. I have had it for almost four years. The tissue paper is still inside. This is the closest I've come to doing something with it. I love the purple color but find it limiting. I thought about E-BAYING it, but I got such a great deal I just can't bring myself to so it.

 What if I want it someday? 

At least I didn't pay the original $138. HA! I would so NEVER do that.

So my Frugal Friday tip is go to the outlet. Who really cares if something is "last season," or twelve seasons ago. I don't. This is especially true for simple basic pieces in solid colors.

A: Ignore awful nail polish  B: Why does my skin look so awful. Seriously, it doesn't really look that bad.
Other great Coach deals I've got are a $425 limited edition suede bag for $78, scarves galore for between $12-$15, a different and smaller limited edition wristlet for $30, and AMAZING teal leather gloves w/a velvet bow and rhinestone embellishment for $14 (originally $119).


Baby Friendly Necklaces


The Roly Poly is teething like CRAZY, and he is incredibly fascinated by my necklaces recently. 

The first necklace I made was a wood bead teething necklace (it's the shorter of the two in the photo). I used this wonderful tutorial from See Kate Sew.

Definitely check out her blog and ETSY shop. Plus look for her this week at Crafting with the Stars.

The second, longer, necklace is of my own design. I thought that while the Roly Poly was munching away on one necklace, he'd be fiddling with the other. Thus, a nice squishy but sorta crunchy sounding necklace came to mind, and the plastic bag necklace was born. Yes, this necklace has a plastic grocery bag inside in order to give it some poof and a little bit of sound. Babies like this sort of thing. 

Okay, so how do you make such a necklace?

Follow the simple directions below.


1. Cut and sew a 3 1/2 inch by 40 inch piece of fabric into a tube. Use the safety pin trick to turn right side out.

You should have this:


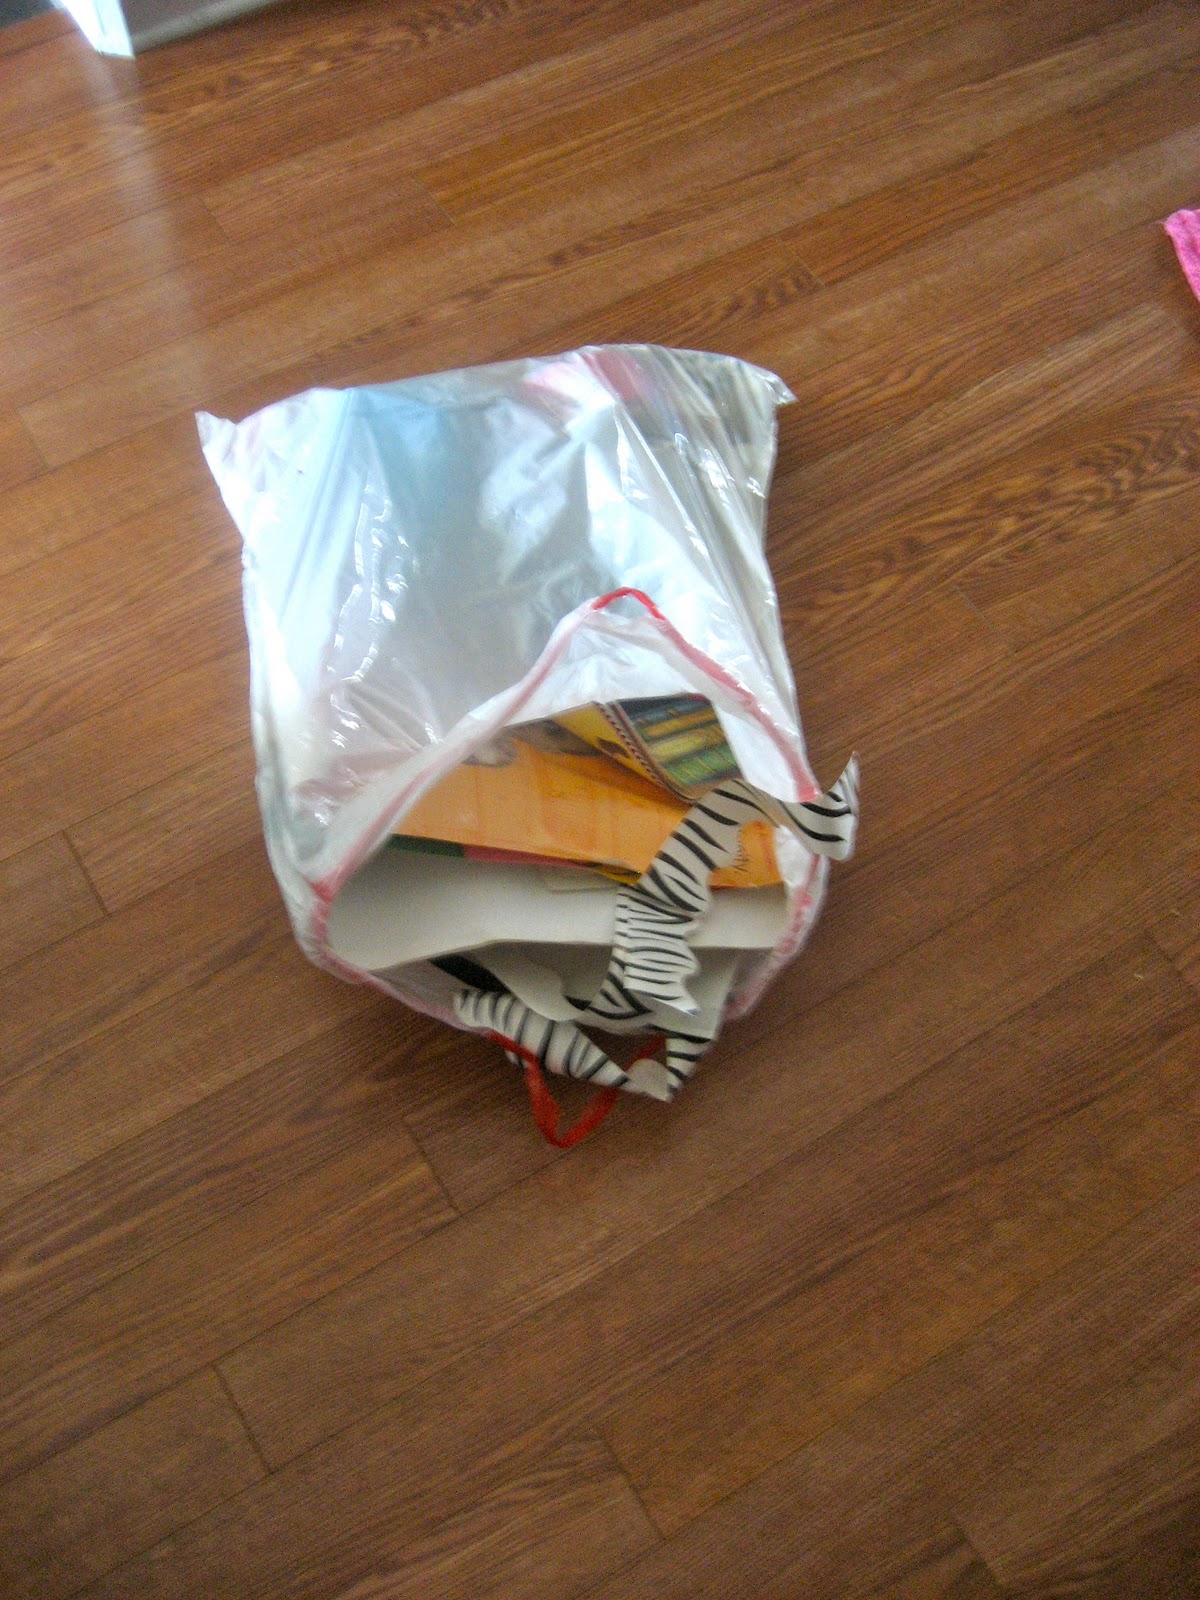
2. Tear a grocery bag in half. You will need both halves


 3. By photo
1. Twist one half of the bag completely.
2. Begin to push the twisted bag into the opening of the tube. The safety pin may come in handy here.
3. When you are at the end of the first half, tie the second half of the bag to the end (I found the handle to be helpful for this). Now twist the second half and push through.
4. If you have trouble toward the end of your completed bags, use something to aide you in pushing. I used this here lollipop stick, but I wasn't using the safety pin.
 4. Tie the ends. I actually tied one end before I began, but if you are using the safety pin trick, which I recommend, then you cannot do this.

5. Tie several knots evenly throughout the body of your necklace. This adds some dimension and helps with flexibility.

***Note: Do to the nature of the filling for this necklace it may be a little stiff***


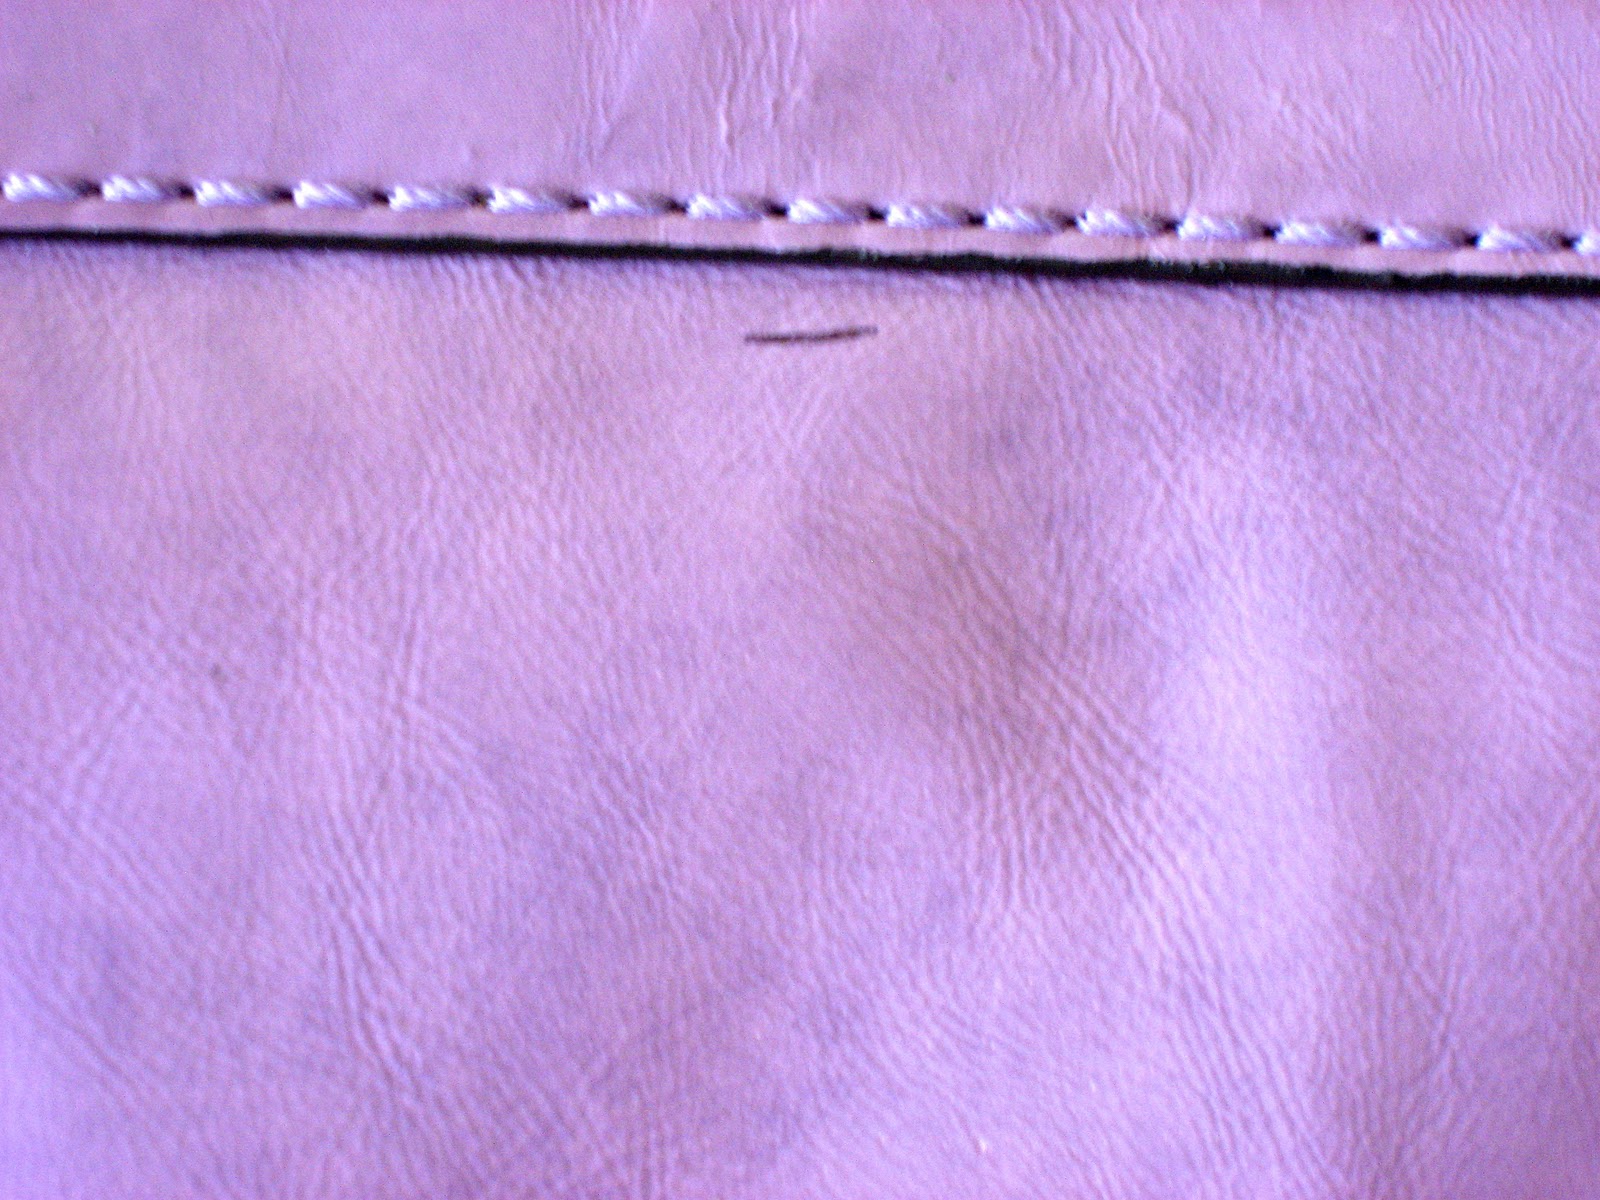
6. Like in the wooden bead necklace tutorial, it is now time to add ribbon to the openings. Cut your ribbon in two 8 inch lengths. I angled the cuts that will remain outside. Then fold the side that will go in the tube opening in three like in the photo below.


7. Place it inside the tube. Pinning is always helpful. And stitch across, making sure to back stitch at the beginning and end.


This should be something like your result.


TADA!!!! You have a finished product. Fancy looking, no?


Now, strut your stuff with these two pieces and let your little guy or gal enjoy chewing and squishing your glamorous jewelry. They look great paired together or worn alone.


Wednesday, January 26, 2011

{What I Wore Wednesday} Jailhouse Mama

This will be a new weekly feature. I typically force myself to dress up on Wednesdays. I haven't always gotten out of lounge wear earlier in the week, so I figure by Wednesday I need to look cute for the hubs. I thought that making it a weekly feature would encourage me to keep it up. Additionally, I found this really cool "All Dressed Up" linky party over at NoModelLady. You should definitely check it out. She is so much fun!!! Okay, so here goes nothing . . .

Today's outfit is entitled Jailhouse Mama
It just reminds me of Elvis's Jailhouse Rocks. 
This incorporates that vintage mama look with an edge. Also, it is a great way to transition from mommyhood to date with daddy. 

See for yourselves.

June Cleaver 2011 by day


Oops! Did I burn the oatmeal?


Dress: Hot Topic/Black Cardigan: Target/Ballet flats: Ross (Thanks MIL) /Belt: Volcom/ Barrett & Earrings:Forever 21/ Necklace: Cookie Lee/ 
Cabachon Ring: LMM

Daddy's Home!!!

Just remove the cardigan, switch the shoes, and grab the diaper bag (Sorry a nursing baby goes everywhere, even on dates).


ADDITIONS/CHANGES: Watch: Roxy/ Diaper Bag: Betsey Johnson/ Heels: ALDO/ Bracelet: Ah, that's a hair tie. . . 

*** DOH! I forgot to move the boys laundry basket. Well, this is a mom's outfit after all!***


Tuesday, January 25, 2011

Sheriff Valentine


A few weeks back I saw these super cute sheriff's badges in the Valentine's section at Target. I set them down, but I just couldn't stop thinking about them. By the time I got home I knew I had to buy them the next time I was there and use them for D's Valentine's I feel like it can be difficult to make a masculine Valentine, but these little badges would do just the trick.

What to do with them though?

Well, the phrase, "Valentine: You've arrested my heart," popped into my head.

That was it!!!

At first I thought I would just print cardstock and place the badges to the right of the phrases, and then I saw these wonderful little library note card holders in the garage (they're left over from my teaching days) The red bandana print just shouted "Use ME for Valentine's Day." So, I had another great element. I put it all together, filled the little envelopes with candy, and VOILA! A masculine Valentine's card from your local sheriff.


Want to make your own? Let me show you how.

What you need:

  • Sheriff's Badges (1.99/16 @ Target)
  • White cardstock (I used linen cardstock)
  • Bandana printed paper/or other western style paper
  • Printables and envelope template from here
  • Adhesive (Glue or double sided tape)
  • Paper trimmer or scissors
  • Conversation Hearts

What you do:

  1. Cut out and fold your envelopes following the directions on the printable.
  2. Print out the printables and cut. The height of each is determined by the distance between each printable. The width should be 3 1/2 inches.
  3. Adhere your printed and cut labels to your prepared envelopes about 1/2-3/4 inch from the bottom. I eyed it.
  4. Now you can fill each envelope with a small amount of conversation hearts. It helps to shake the envelope to flatten them out before folding down the top tab.
  5. Fold down the top tab; you do not need to seal it with adhesive.
  6. Use the clip on the back of the sheriff's badge to attach the badge to the envelope. This will hold the envelope closed.
  7. You are now ready to give your Valentine away!!!


Phew! That wasn't too bad. I am excited that D gets to give a special Valentine at his BFF's party. He might just have to make her an extra special one though. Look for photos post-Valentine's of this fun event.
Oh yeah, one quick disclaimer. Please bear with my template; it's the first I've ever made. Thanks!